
Making your own soft plastic fishing lures lets you choose the colours, shapes and styles that suit your water. This guide walks through the whole process, from materials to the finished lure, so even a first-timer can pour with confidence.
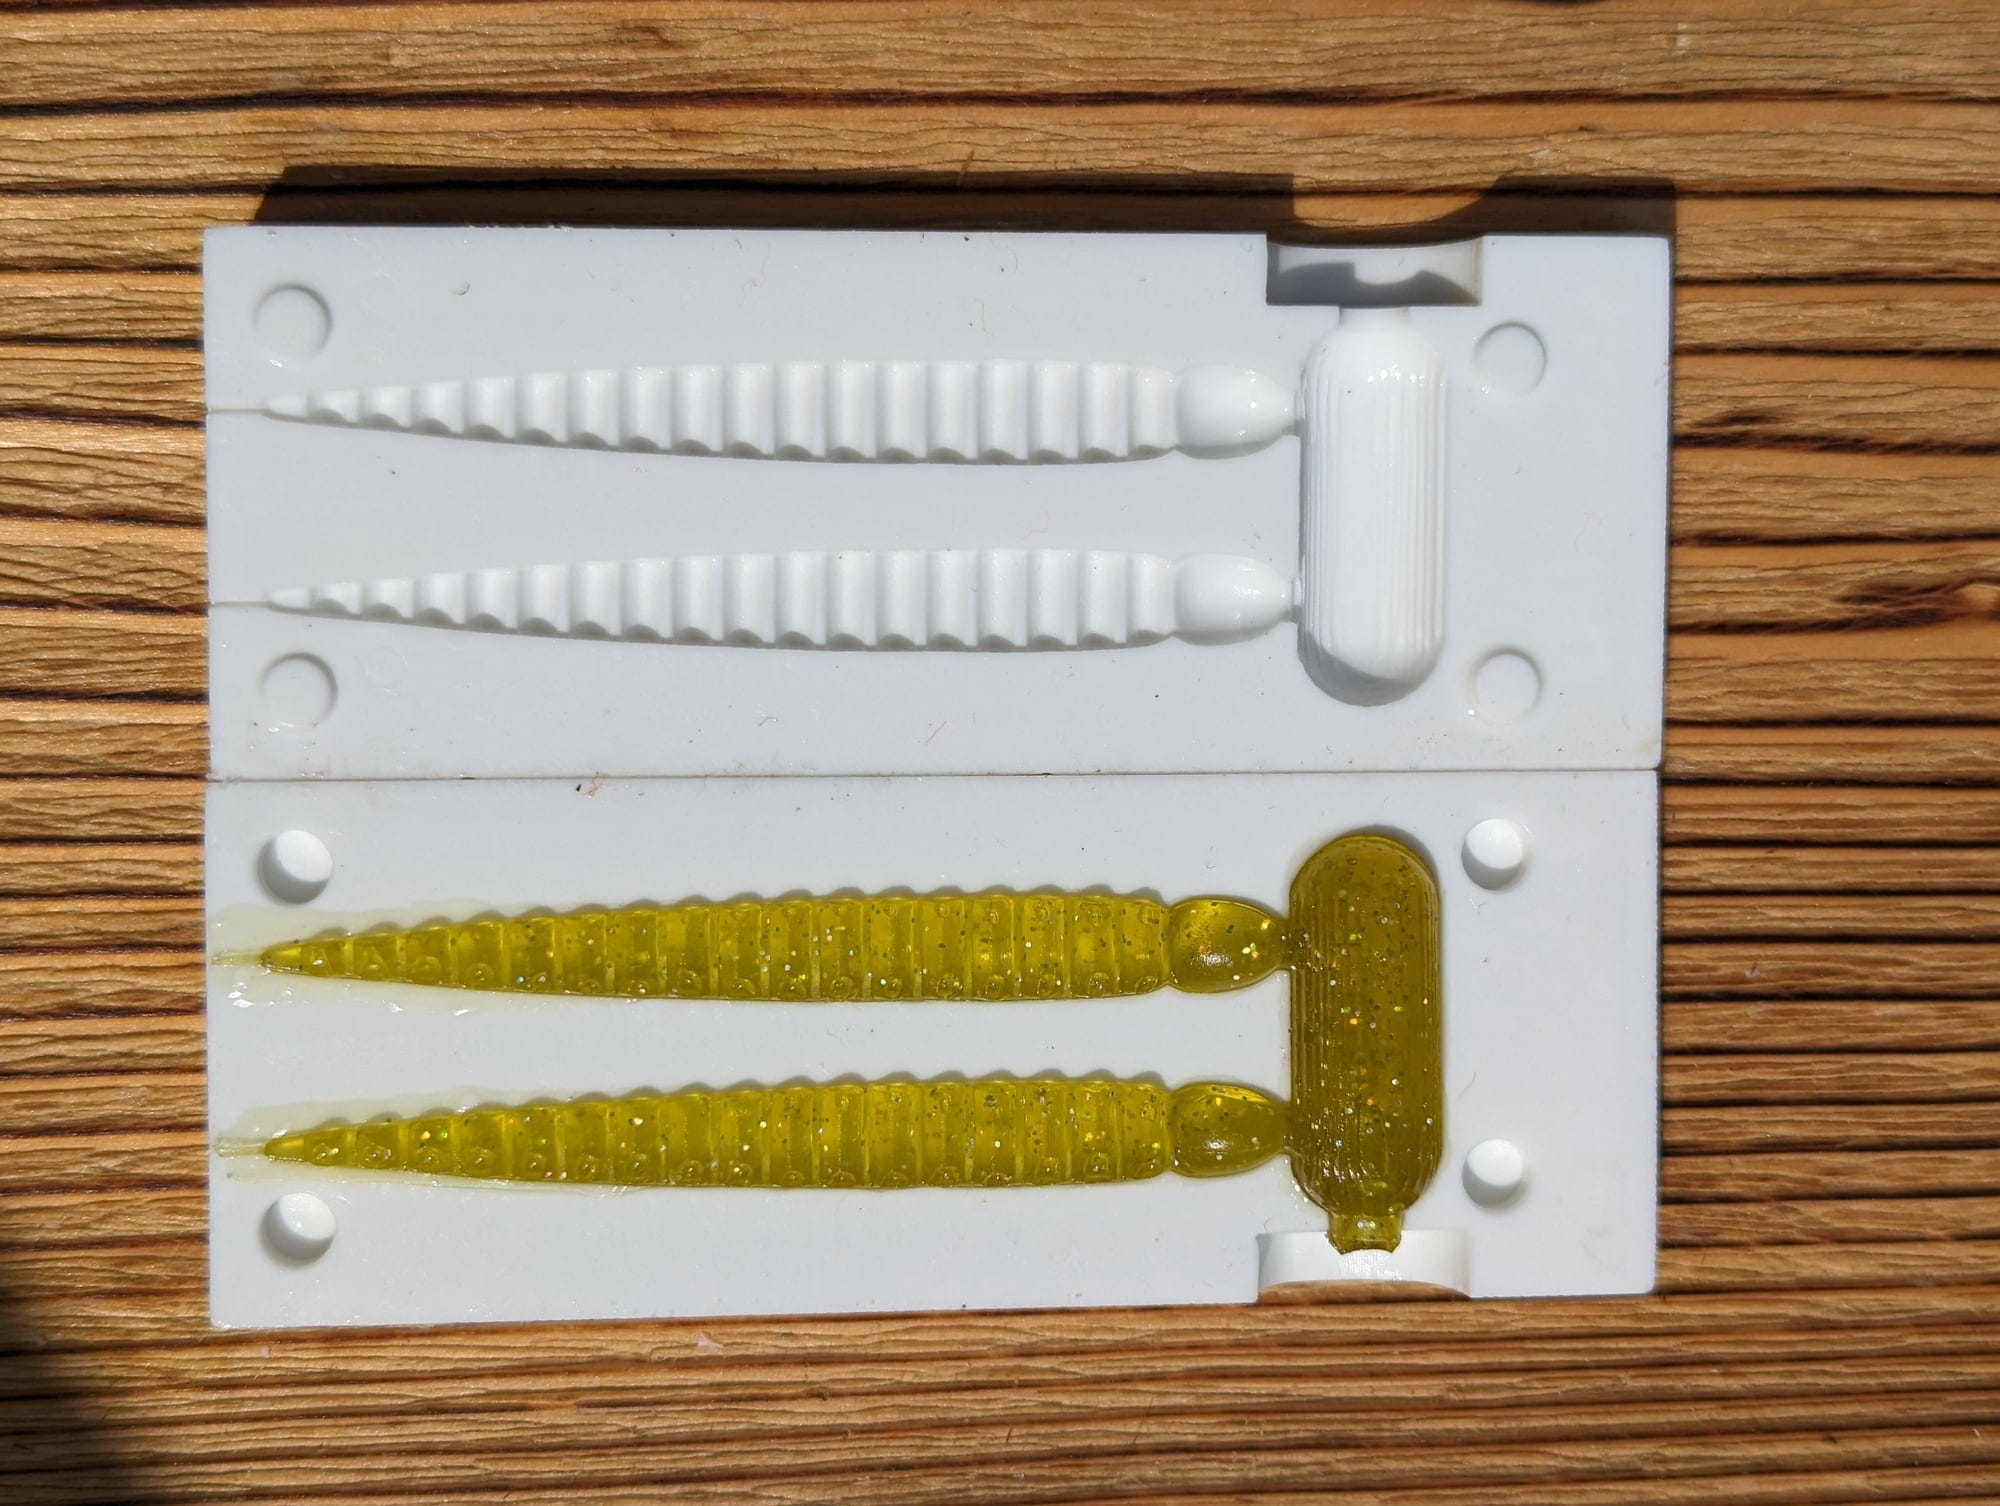
What you’ll need
| Soft plastic (plastisol) | A liquid plastic compound made for fishing lures. |
|---|---|
| Microwave | To heat and liquefy the plastic. Keep one just for lure making — never the kitchen one. |
| Measuring cups and stirring sticks | Microwave-safe, for heating and mixing. |
| Heat-resistant gloves and safety glasses | Protection from burns and splashes. |
| A well-ventilated workspace | Hot plastisol gives off fumes, so airflow matters. |
| A mould | Made for soft plastic lures — for example a TZ-Tech injection mould. |
| Syringe or injector and release agent | To inject the plastic; the release agent helps it flow and come away cleanly. |
| Colour pigments and glitter | To give your lures their look. |
| Scent and softeneroptional | To make the bait more attractive to fish or change its feel. |
Step by step
Prepare your work area
Clear and organise your workspace before you start. Work somewhere well ventilated or use a fume extractor, and put on heat-resistant gloves and safety glasses.
Before first use, spray a little release agent into a new syringe.
Heat the soft plastic
Pour the liquid plastic into a microwave-safe measuring cup. Heat it in 30-second bursts, stirring between each one, until it reaches about 150 °C.
The plastic should turn clear, smooth and thick. Don’t overheat it: burnt plastisol discolours and gives off toxic fumes.
Add colour and effects
Once the plastic is fully heated, add pigment and mix thoroughly. For a glitter finish, stir in heat-resistant glitter so it doesn’t melt. You can add scent at this stage too.
Start with small amounts of pigment and glitter. You can always add more, but you can’t take it out.
Inject into the mould
Fill the syringe and inject the hot plastic into the mould slowly and steadily, so every cavity fills evenly and no air gets trapped.
If bubbles form, tap the mould gently before the plastic sets.
Let it cool and remove the lure
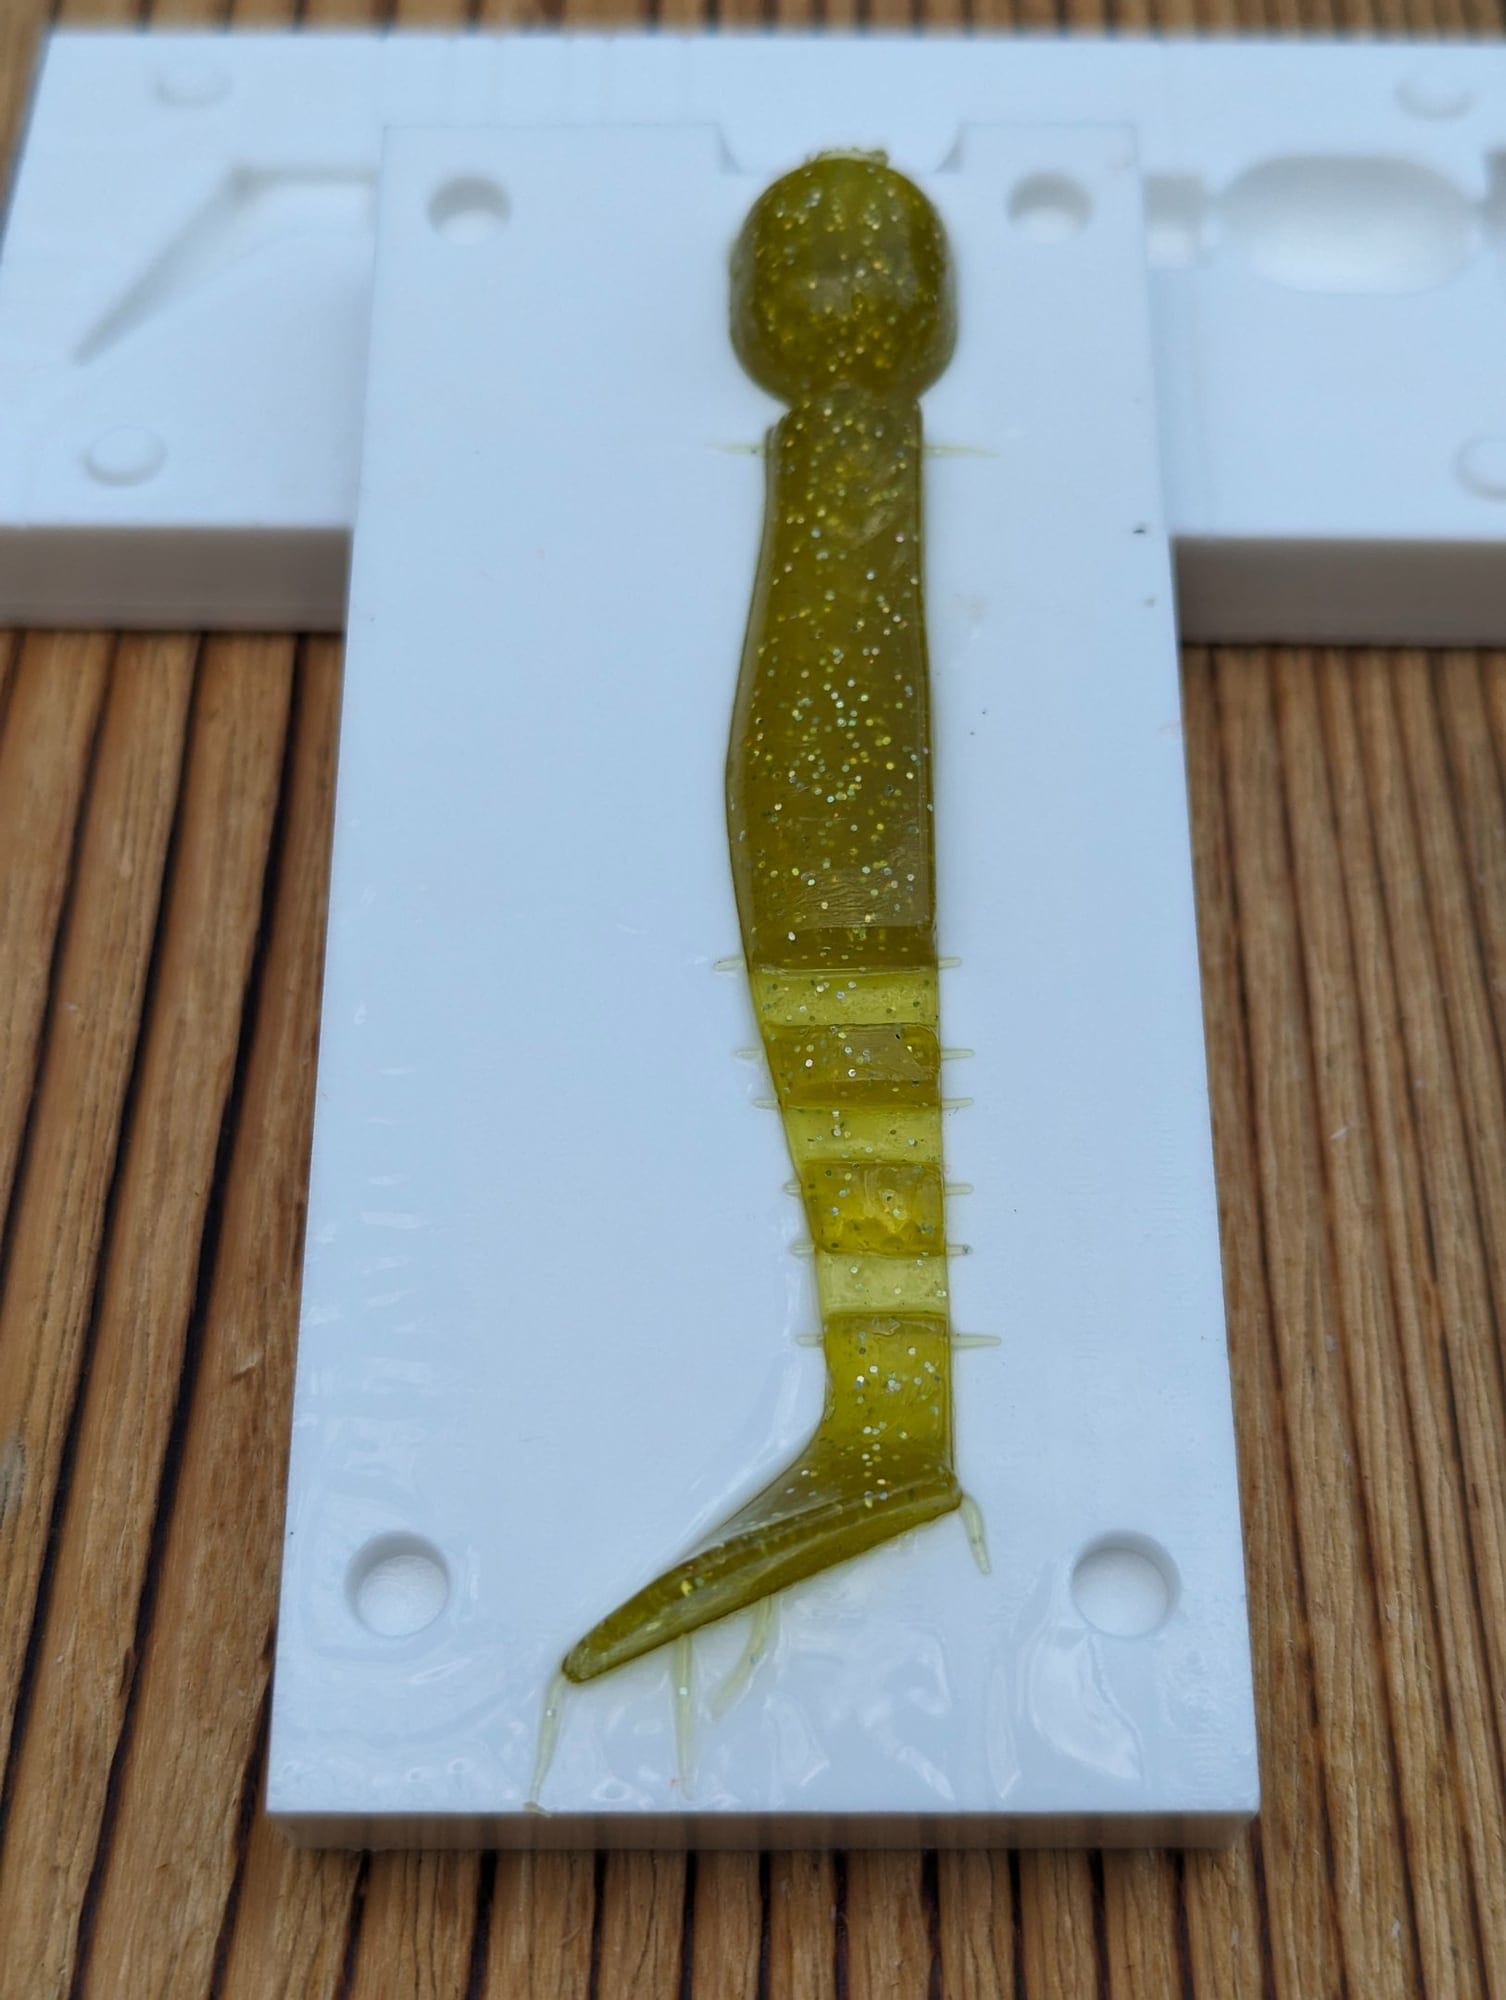
Leave the plastic to cool and set inside the mould — usually 1–2 minutes, depending on the size of the lure. Then open the mould and lift the lure out gently.
If the lure still feels soft or bends too easily, give it a little longer before handling.
Finishing touches
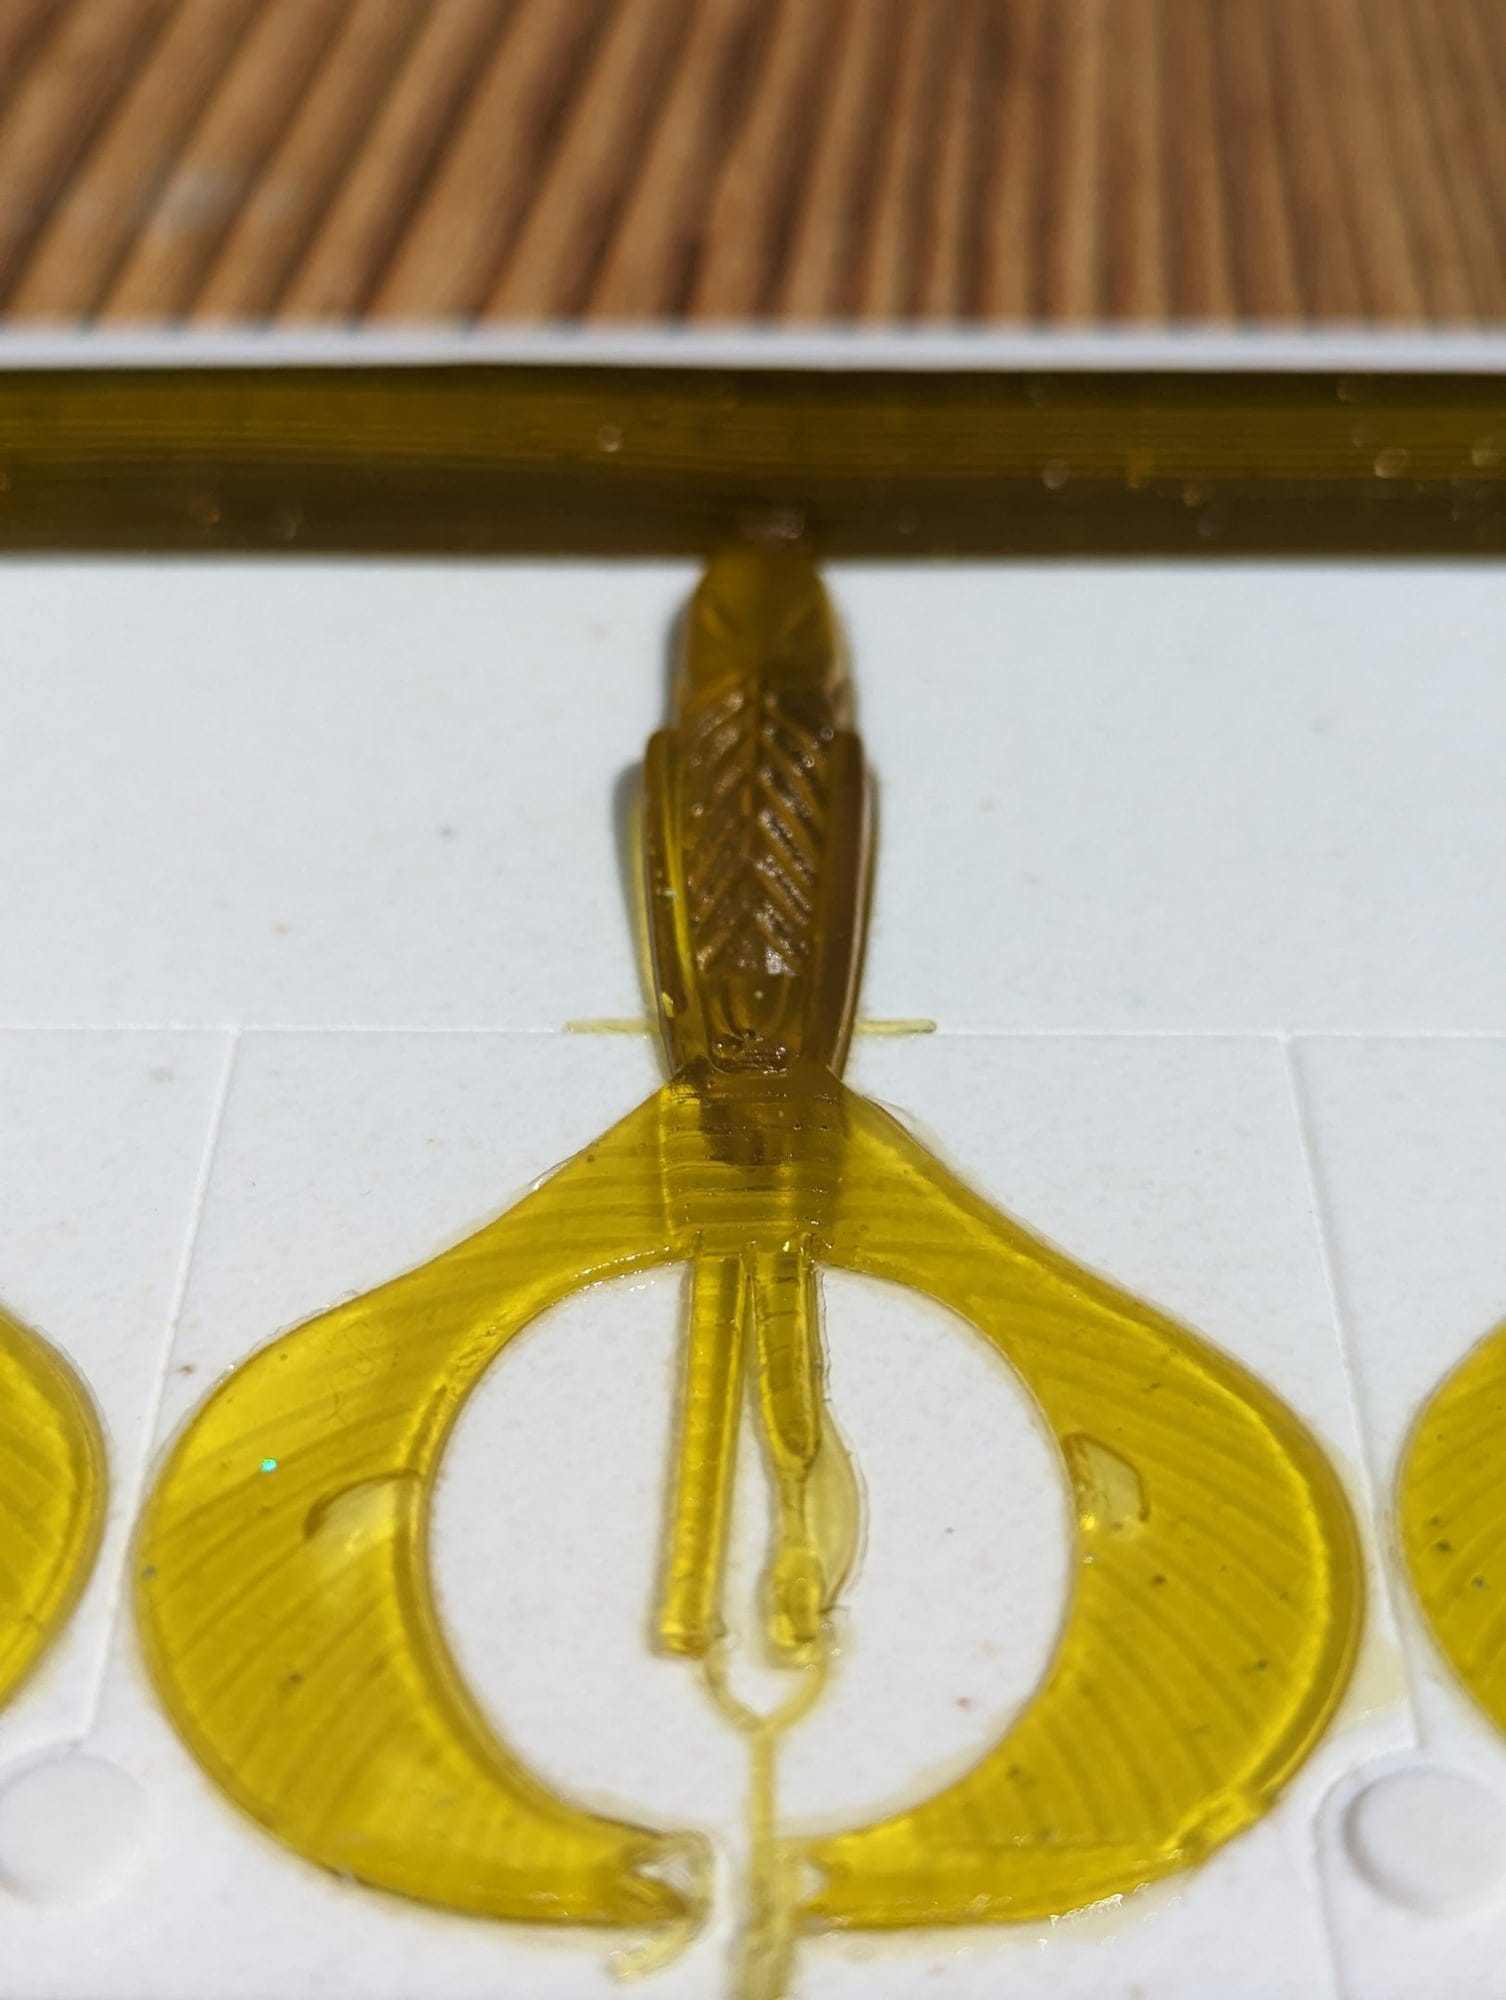
Trim any excess plastic around the edges (the flashing) with scissors or a craft knife. Some lures also benefit from a few seconds in boiling water to improve their flexibility.
Store finished lures in a plastic bag with a few drops of scent oil to keep them fresh.
Plastisol is worked at around 150 °C. Keep the room ventilated, wear gloves and glasses, keep children and pets away, and never leave hot plastic unattended.
Final thoughts
Making soft plastic lures is a fun and cost-effective way to personalise your fishing. Experiment with colours, scents and shapes, and you’ll soon have lures that suit your local waters and target species. With a little practice you’ll be producing professional-quality baits in no time.